Hey! My name is Pawel. I created this course for complete beginners who want to experience programming, at your own pace, and in a fun way. With step-by-step videos and coding exercises you will learn how to talk to the computer (with Python code) so that it understands you. You will also learn to talk to other people about your code so that they understand you too. Are you ready? Let’s do it!
Code Storytelling notes and videos are shared as ‘Creative Commons’, which means anyone can use them by yourself, or within your courses. I for example use them as part of my University of Edinburgh courses.

You can take this course by yourself, or with a group of people. In a classroom (or bookclub) setting it is designed as a ‘Flipped Classroom’ which means that you would watch the videos, and complete simple exercises by yourself first – and only then meet with your peers to solve some harder puzzles together.
Creating code (programming) is:
- like telling stories
- done with other people
- a craft, like knitting
- rewarding and fun
- creative and beautiful
Watch below video of me explaining the principles of this course. In was recorded for my in-person courses at University of Edinburgh. But it applies whether you complete this course with a group at school, or as an online do-it-at-home course.
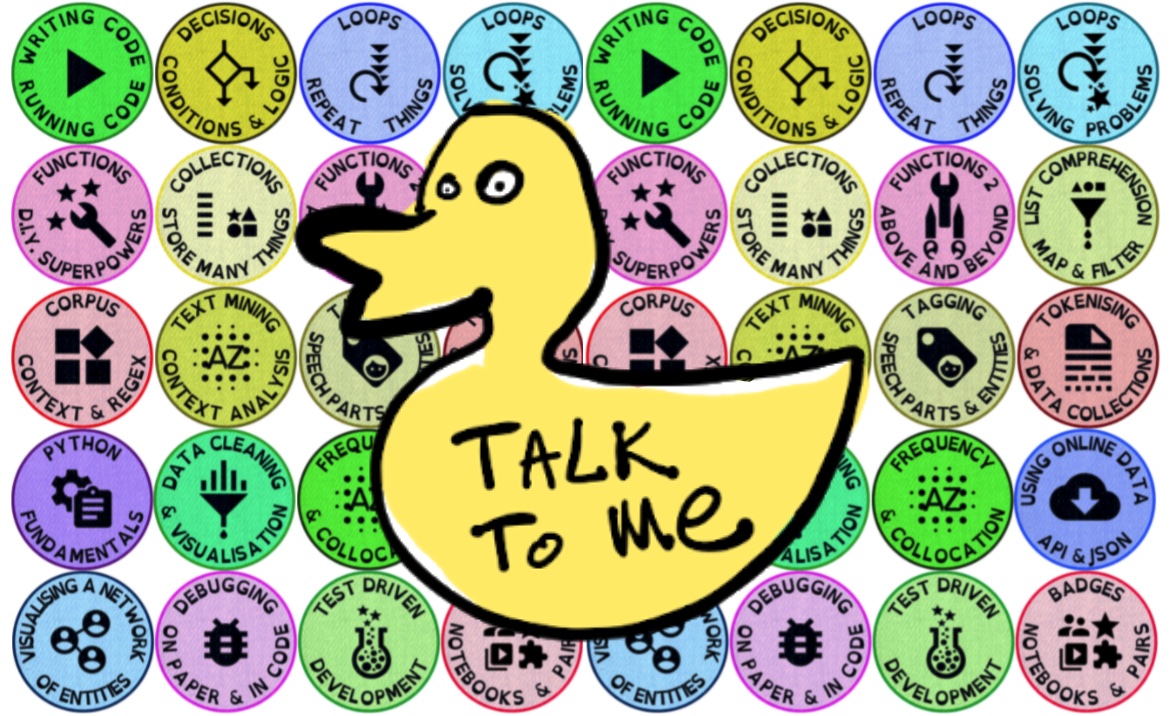
badges: Learn one small skill at a time
Programming is a way of collaborating with computers to solve tasks together, by leveraging their strengths and avoiding their shortcomings.
In this course you will learn how to teach computer to: remember things (variables); make simple decisions (conditions); assert things work correctly (testing); reuse the same solution in different scenarios (functions); repeat something many times (loops); work with online sources of data (APIs).
Each badge (learning achievement) will build on top of each other, so you’ll get the best experience completing the course from the beginning.
Using Code (Badges 1-6)
Using Data (Badges 7-12)
Solving Real World Problems (Badges 13-18)
- badges coming soon
badge = Video + Notes + Tasks + Diary
In this course you will learn around 15 skills that we call ‘Badges’. (Sometimes in school, when you achieve a new skill, like reading or baking, you get a sticker to symbolise a new achievement. In here stickers are digital, and we call them ‘Badges’.)

Each badge will take you 1-2 hours to complete and they always consist of the same elements:
- Video to watch (20-30mins) – these videos explain the new concepts and show you examples. There will be a lot of stories, metaphors and pictures, because at its heart, programming is a storytelling exercise. Important: take notes when you watch the videos – by taking notes you will clarify the learned materials, and we will need these notes later.
- Programming Notebook to complete (20-30mins) – programming is a very practical skill (like knitting, or woodworking) so you will need to do a lot of exercises. Right after watching a badge’s video, complete that badge’s programming notebook. Notebooks do not repeat what you’ve seen in the video, but rather add to it. Also, it is really not enough to read the notebooks, you actually have to complete the exercises in them. Important: just like with videos, take notes when you complete your notebooks, as we will need these notes later.
- Tasks (20-30 mins) – most notebooks have a set of small mini-tasks at the end. Complete them to practice skills you just read about.
- Your mini-diary: 3 Stars and 1 Wish) (5mins) – To complete the badge, you will have to extract that was important to you in this badge. Write down 3 things that you found most important, interesting or new in this badge (these are your 3 stars ⭐️⭐️⭐️). Then also write down 1 thing that you wish you understood better, or wish you will get better at (this is your 1 wish ❓).
Once you complete these three components of the badge, that’s it: you have achieved a given badge. You can make yourself a sticker, and wear it proudly!
You could write down your diary in any form (paper, file, audio recordings) but here is a word document which gives you some examples and could be a good way to start: Your-Badges-Diary-Code-Storytelling-v0.1.docx
SETUP: what you will need to start
Once upon a time you would have to install a lot of complicated software on your computer, which was troublesome and difficult. And it looked like Matrix. But luckily not any more.
All the learning and programming will happen in your web browser but most likely you will not need to install anything on your computer.
There are many ways to use the programming notebooks for this course (called jupyter notebooks). Below are some of the easiest ways to do it, but they are still a bit experimental. You will need just one of those, and depending on your situation you might want to use the course in a web browser, or install everything on your own machine.
How to use these notes to run a course with your school or organisation?
These notes are a part of my courses at University of Edinburgh (that’s in Scotland) in a number of departments: Business School, Edinburgh Futures Institute and Usher Institute.
In collaboration with our library, we made them Creative Commons (CC) licensed, which means you can use them to run your own courses, change them and add to them – just make sure you reference that this is where you took them from, and that whatever you create is also Creative Commons. More details on the CC website linked in the footer of this page.
If you would need some help, or would like to discuss using this course, please contact Pawel via twitter https://twitter.com/DrPawel or email porzecho@ed.ac.uk
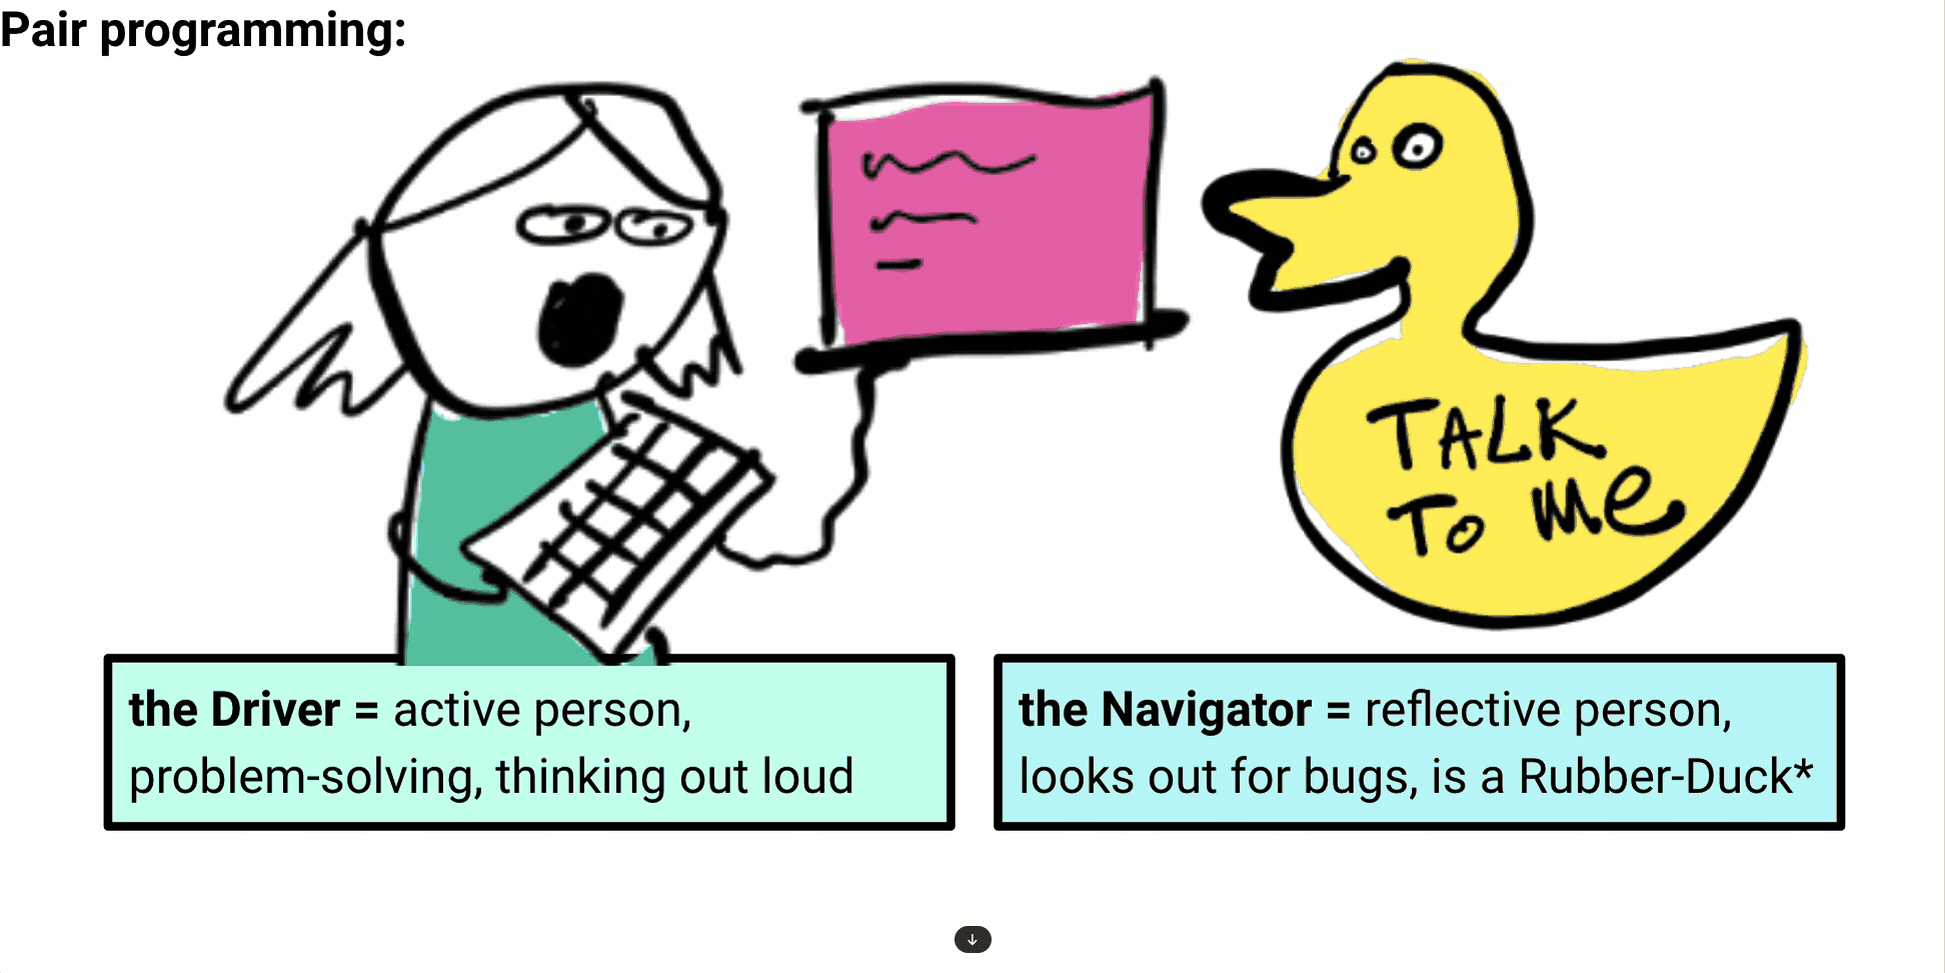
extra bit for teachers: What is Pair programming?
Pair programming is a problem-solving and collaboration method. I used in the classroom over last 5 years with great success. It works well as a companion to flipped-classroom and badges, enabling cross-pollination of ideas
Pair programming is a practice of mindful and empathic coding with another person (and if no-one is around with a rubber duck). Two people take turns typing (being the Driver) and helping out (being the Navigator) and switch roles every 15 minutes. It’s a great way to cross-pollinate knowledge, learn with people of different skill or background than you; and it’s just a lot of fun and a nice way to make friends. I use it in all my courses for 5 years now, and over 500 students of mine did used Pair Programming to learn coding.
Here are some posters from Learning and Teaching conference about elements of this course:
If you see something that can be better in here, please let me know
I made an attempt to use only CC (or similar licensed) materials and reference everything. But if you find something (eg. image, code, data) that should be better licensed, just let me know and I’ll fix it. No-one is perfect, but there is a good will to incrementally make things better. Write to me on LinkedIn
Most images in the videos are taken from Unsplash and follow their licence (very similar to CC and compatible with it) https://unsplash.com/@drpawel
Acknowledgements
Thank you to all the amazing people who helped me on the journey of becoming a storytelling programmer. Also to everyone who helped creating and honing these teaching materials. (links coming soon)
My Mentors:
Wojciech Tomalczyk and Tadeusz Zakrzacki who taught me that knowing strategies to solve problems is more valuable than knowing solutions to those problems.
Michael Heron who’s original ‘Monkeys at Keyboards’ blog lead me to create my own open source learning materials 15 years later.
Pauline Belford who taught me about kindness towards other coders and myself.
Judy Robertson who taught me that my love for how humans work and feel is perfectly compatible with a career in programming.
Mike Chantler who taught me that you can doodle your way out of any problems, and explaining something to a person is the best way to understand it.
Bob Thomson who taught me that great code is something that can be understood by a stranger (and myself a month later), and that a great way to not get stuck is to just ‘do it live’ and see what happens.
My amazing colleagues and fellow teachers:
Sian, Keith, Colin, Steph, Maria, Jordana, Bea, Clare, Marta, Wojtek, Milo, Charlie, Michelle, Charlotte, Kasia and so many many others.
And special thanks to my amazing Teaching assistants Daibhidh Boyle and Shaz Jamieson. Without your help, encouragement, enthusiasm and spellchecking skills, this course would have never happened.